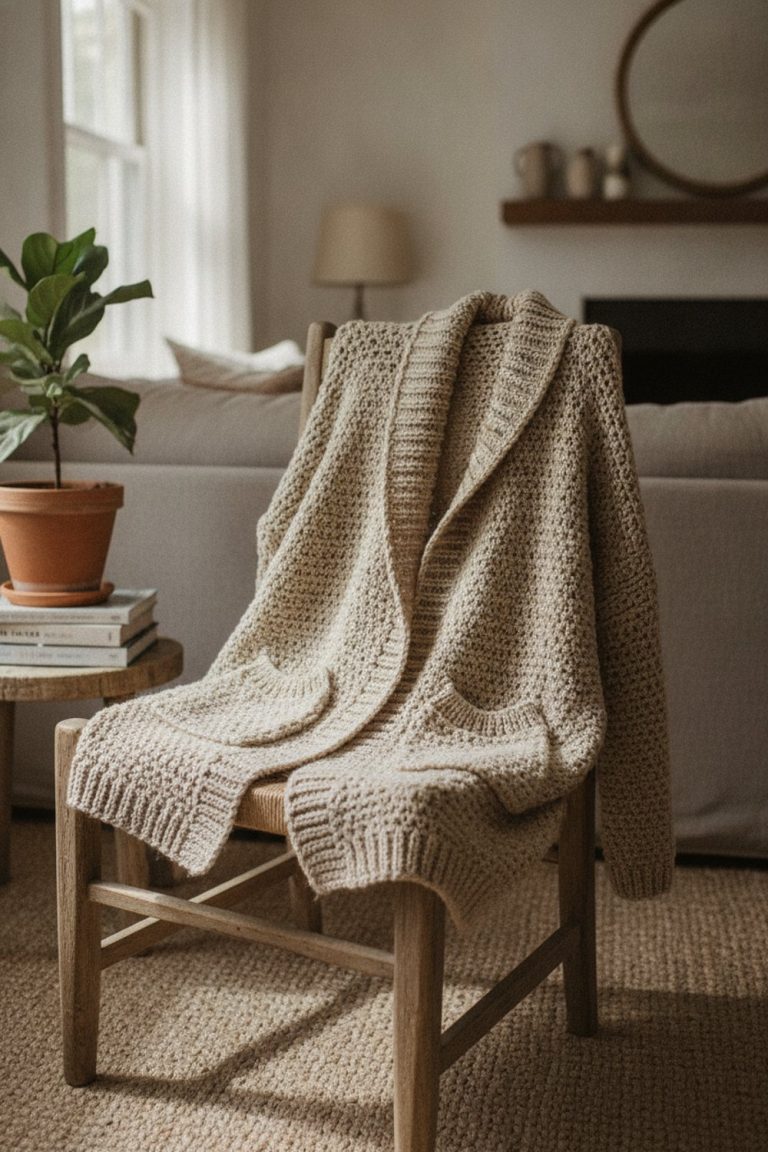
How to Crochet a Sweater for Beginners (Simple Rectangle Method)
If you can crochet a straight scarf, you can crochet a sweater. That is not a sales line. The easiest sweaters are just a few rectangles sewn together, with sleeves added at the end. No fancy shaping, no confusing charts.
This guide walks you through the classic beginner method: a drop-shoulder pullover made from two flat panels. You will learn how to choose yarn, take two simple measurements, work out your size, and put it all together. At the end you will find common mistakes, tips, and a free pattern you can follow if you want exact stitch counts.
What You’ll Need
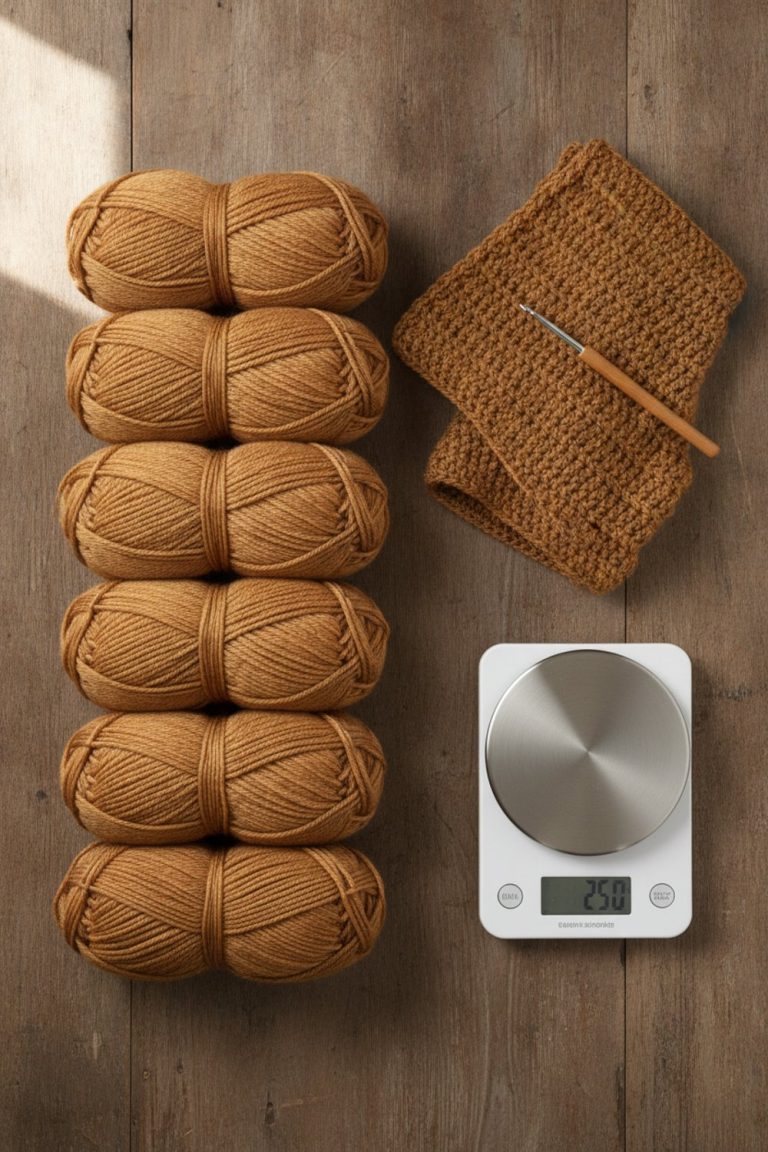
- Worsted weight (#4) yarn, about 900 to 1,600 yards depending on size and style
- A crochet hook in the size on your yarn label, often 5 mm (H) to 6 mm (J) for worsted
- Locking stitch markers
- Soft measuring tape
- Yarn needle (tapestry needle) for seaming
- Sharp scissors
- Blocking mats and pins (optional, but helpful)
Why the Rectangle Sweater Is Best for Beginners
A drop-shoulder sweater has no curved armholes. The front and back are straight rectangles. You join them at the shoulders and sides, leave a gap for the neck and arms, and work the sleeves from there.
That is why so many beginner sweater patterns use this shape. It is also forgiving. Because the fit is relaxed, being a little off on gauge will not ruin the sweater.
Step 1: Pick the Right Yarn and Hook
Step 1: Choose a smooth, light-colored worsted weight (#4) yarn. Smooth yarn makes it easy to see your stitches, and worsted works up fast without being heavy.
The Craft Yarn Council’s yarn weight system lists these hook ranges. Use them as a starting point, then follow your yarn label and your pattern.
| Yarn weight | Category | Suggested hook range |
|---|---|---|
| DK / Light | #3 | 4.5–5.5 mm (7 to I-9) |
| Worsted / Medium | #4 | 5.5–6.5 mm (I-9 to K-10½) |
| Bulky | #5 | 6.5–9 mm (K-10½ to M-13) |
For a first sweater, skip fuzzy mohair, very dark colors, and very thin yarn. They make counting stitches much harder.
Step 2: Measure Yourself and Choose Your Ease
Step 2: Measure around the fullest part of your bust or chest. Keep the tape level and snug, not tight. Then measure from your shoulder down to where you want the sweater to end.
Next, decide on ease. Ease is the extra room between your body and the sweater. Lion Brand’s guide to ease uses these ranges:
| Fit | Ease added to your bust |
|---|---|
| Very close | 0 inches |
| Close | 1–2 inches |
| Standard | 2–4 inches |
| Loose | 4–6 inches |
| Oversized | 6 inches and up |
Most beginner rectangle sweaters look best loose or oversized.
Step 3: Work out your panel width. Add your ease to your bust measurement, then divide by 2. That number is the width of each panel (front and back). For example, a 38-inch bust plus 6 inches of ease is 44 inches. Each panel is 22 inches wide.
Step 3: Make a Gauge Swatch
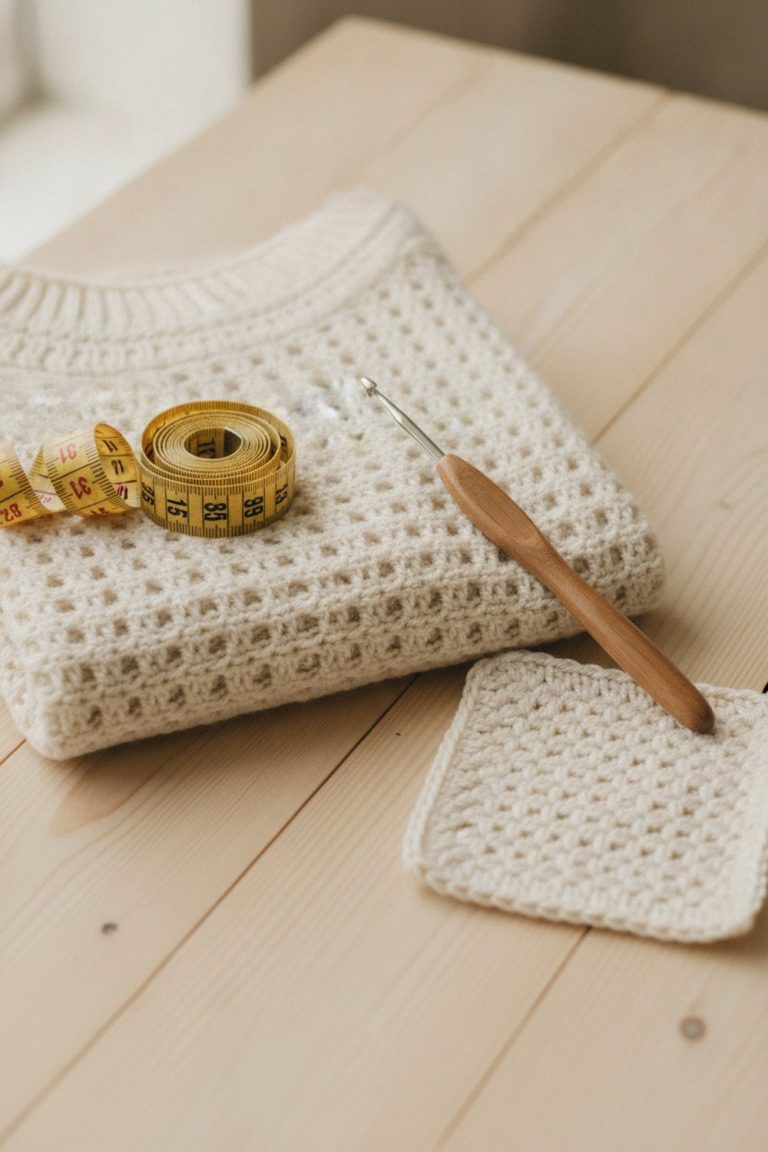
Step 4: Crochet a square about 6 x 6 inches in the stitch you plan to use, like half double crochet. Wash and dry it the way you will wash the sweater. Then count how many stitches fit in 4 inches.
Step 5: Turn that into a chain count. If you get 12 stitches in 4 inches, that is 3 stitches per inch. A 22-inch panel needs about 66 stitches.
This is the step most beginners skip, and it is the main reason sweaters come out too big or too small.
Step 4: Crochet the Front and Back Panels
Step 6: Chain your number from Step 5, plus the turning chain your stitch needs. Work rows back and forth in the same stitch until the panel is as long as your shoulder-to-hem measurement.
Step 7: Make a second panel exactly the same. Count rows on both so they match.
Many patterns add ribbing at the bottom first, or work it on at the end. If ribbing feels like too much for a first project, leave it out. A plain edge is fine.
Step 5: Join the Shoulders and Sides
Step 8: Lay the panels on top of each other, right sides facing in. Sew or slip stitch the shoulders together, leaving a neck opening in the middle. Pin the seams first and try it on: your head should slip through easily.
Step 9: Measure down from each shoulder for the armhole. The Craft Yarn Council women’s chart lists armhole depth from about 6 inches (XS) to about 10 inches (5X). Because a drop-shoulder seam sits lower on the arm, check the armhole on your body before you sew. Place a marker, then seam the sides from the marker down to the hem.
Step 6: Add the Sleeves
Step 10: Join yarn at the underarm and crochet the sleeve in rounds, straight out from the armhole. This is how many beginner patterns work, because there is no sleeve to sew in later.
Step 11: Every few rounds, decrease 2 stitches so the sleeve narrows toward the wrist. Try it on as you go. Stop when it reaches your wrist, or add a few rounds of ribbing for a cuff.
Step 7: Finish the Neck and Weave In Ends
Step 12: Work one or two rounds of single crochet around the neckline to tidy it up. Weave in every yarn tail, going in at least two directions so it stays put.
Step 13: Wet block the sweater. Soak it, squeeze out the water gently, and lay it flat to dry in the right shape.
A Free Beginner Pattern to Follow
If you want exact numbers, try the Easy Crochet Pullover Sweater free pattern from Jenny & Teddy. It uses medium (#4) yarn and a 5 mm hook, has two rectangle panels, and the sleeves are worked from the armholes so there is less sewing. There is a full video on the page. The S–M sample used about 930 yards.
For the measurements in this guide, see the Craft Yarn Council women’s size chart and the Craft Yarn Council yarn weight system. Lion Brand’s ease ranges come from its help article, How much ease do I need for my garment?
Common Mistakes (and How to Fix Them)
- Skipping the swatch. Your sweater ends up inches too wide. Fix: always swatch, and wash it before you measure.
- Panels that slant or grow. This usually means a missed or extra stitch at the row ends. Fix: put a stitch marker in the first and last stitch of every row.
- Neck hole too small. Fix: leave a wider gap at the shoulder seams, or undo a few stitches of the seam on each side.
- Sleeves too tight at the top. Fix: add a few more stitches around the armhole in the first sleeve round.
- Tight seams that pucker. Fix: seam loosely, and try the whip stitch or a slip stitch join with a bigger hook.
Tips
- Write down your stitch count and row count as you go so the second panel matches.
- Try the sweater on before you seam the sides. It is much easier to change things now.
- Buy all your yarn at once, from the same dye lot.
- Buy one extra skein. You can usually return it if you do not use it.
- Use a lifeline or take photos of your work if you are scared of losing your place.
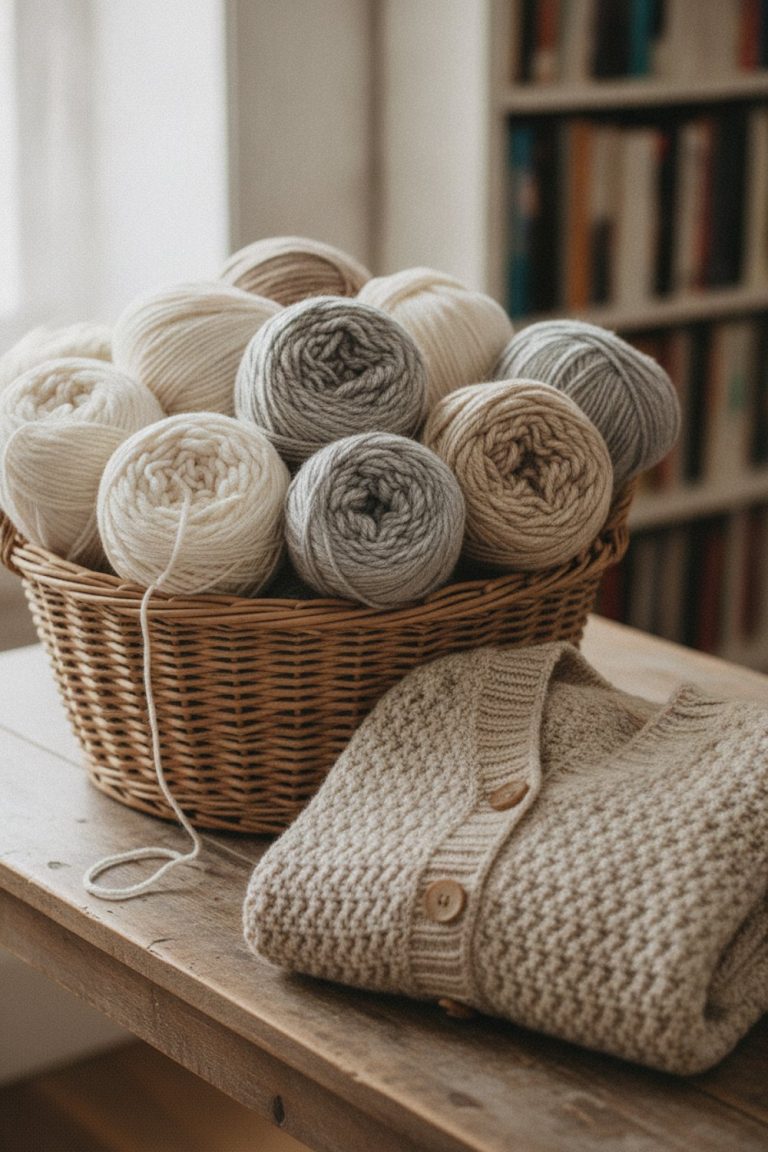
- Worsted weight acrylic or a wool blend is a great first choice. It is soft, cheap and easy to wash.
FAQ
Is a crochet sweater too hard for a beginner?
No. If you can chain, single crochet, and half double crochet, you can make a drop-shoulder sweater. It is mostly straight rows. The new skills are measuring, seaming, and working sleeves in the round, and you can learn each one as you get there. Start with a loose fit so small mistakes do not show.
How long does it take to crochet a sweater?
It depends on your speed, the yarn weight, and the size. A bulky or worsted sweater for a beginner often takes a few weeks of evening crochet. Thicker yarn and bigger hooks are faster. Thin yarn and tight stitches take much longer.
What stitch is best for a first sweater?
Half double crochet is a favorite. It grows faster than single crochet but is still fairly solid, so the sweater is not see-through. Single crochet is denser and warmer but slower and can feel stiff. Double crochet is fast but makes a lighter, more open fabric.
Grab your hook, make that swatch, and your first handmade sweater is closer than you think.